How to Build the Best Professional Vlogging Setup on Any Budget
🎓 Free Vlogging Course – Lesson 5
How to Build a Professional Vlogging Setup on Any Budget
If you have followed the first four lessons of our Free Vlogging Course, you already understand the fundamentals of starting a vlog.
You know how to become a vlogger, what equipment you need, how to choose a camera, and how to create better videos.
Now it is time to put everything together.
The goal of this lesson is to show you how to create a Professional vlogging setup without spending money unnecessarily.
A professional-looking vlog does not always require expensive equipment.
What matters most is choosing the right tools for your content and learning how to use them effectively.
What Is a Professional Vlogging Setup?
A Professional vlogging setup is a complete combination of equipment, software, and workflow that allows you to consistently produce high-quality videos.
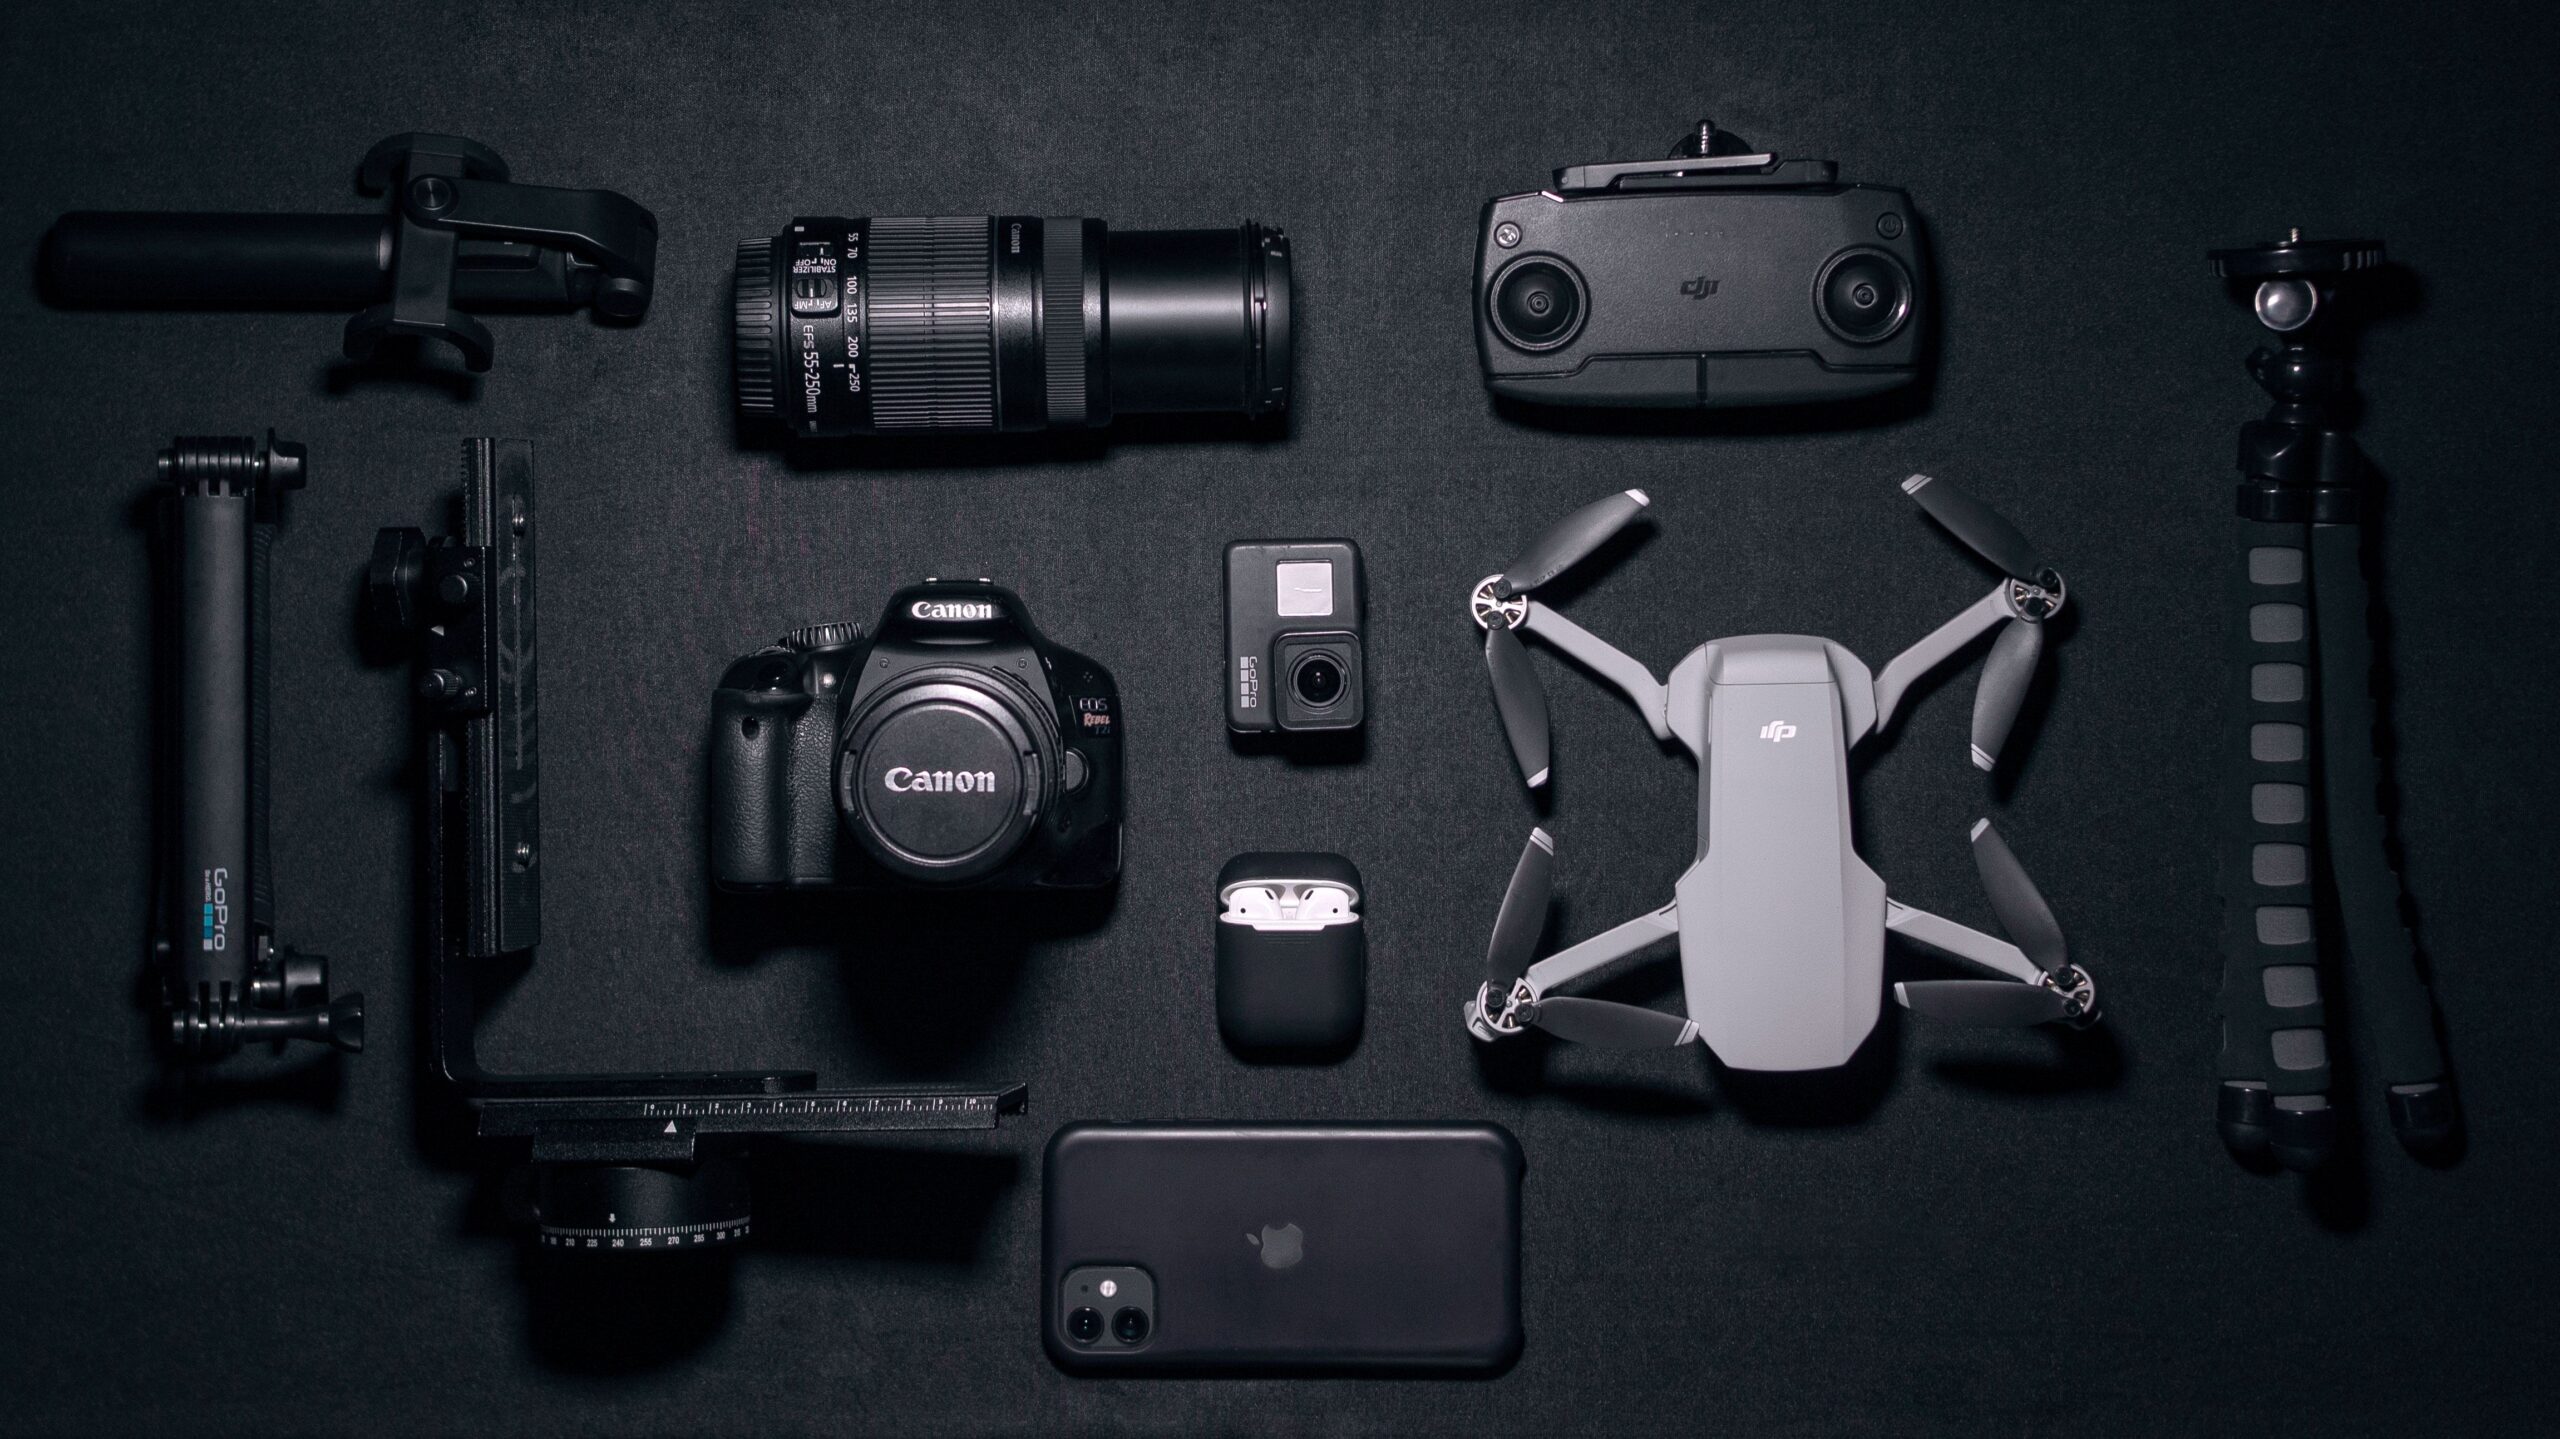
A typical setup can include:
- Camera
- Lens
- Microphone
- Lighting
- Tripod
- Stabilization
- Memory cards
- Batteries
- Storage
- Editing software
- Camera accessories
However, your setup should depend on your type of content. For example, a travel vlogger needs different equipment from a studio YouTuber. A beginner does not need everything immediately; the best approach is to build your Professional Vlogging Setup gradually
.
1. Start With Your Camera
Your camera is the center of your vlogging setup. You have several options.
Smartphone
A smartphone is the easiest way It is:
- Portable
- Easy to use
- Always available
- Simple to edit with
- Excellent for beginners
These advantages make it a great foundation for a Professional Vlogging Setup. To get the best results from your phone, follow these quick tips:
Clean the lens: A quick wipe before recording makes a huge difference
Use the rear camera: The back lens always captures higher quality than the front camera.
Lock focus and exposure: Tap and hold your screen to keep lighting consistent.
Compact Camera
A compact camera can provide better control and image quality while remaining portable.

- Stellar Image Quality: Canon EOS R100 4K digital camera with 24.1 megapixel CMOS (APS-C) sensor for superb image clarity…
- Compact Design: Compact, lightweight EOS R series 4K camera with an affordable price; smallest and lightest camera body …
- Powerful Image Processor: DIGIC 8 image processor allows for improved shooting functionality and 4K video capability; EO…
Mirrorless Camera
A mirrorless camera can provide:
- Larger sensors
- Interchangeable lenses
- Better control
- Advanced autofocus
- High-quality video
For creators who want to build a long-term channel, a mirrorless camera can be a strong investment.
But remember:
You do not need a professional camera to become a professional creator.
Instead, focus on making the most of what you have, and remember that audio is just as important as video for a Professional Vlogging Setup. The camera body gives you the technical features, but the lens creates the actual look and depth of your video.”
2. Choose the Right Lens
If you use a camera with interchangeable lenses, choose your lens based on your content.

- 30MM 0.43x Wide Angle Lens for Canon DSLR Cameras — Compatible with Canon EOS 70D, 77D, 80D, 90D, Rebel T8i, T7, T7i, T6…
- Dual Function Wide Angle and Macro Lens — Combines 0.43x wide angle magnification with macro close-up capabilities, perf…
- Premium Optics with HD Clarity and Minimal Distortion — Features high-quality glass elements and advanced anti-reflectiv…
For self-vlogging, a wide-angle lens can be extremely useful.
It allows you to:
- Hold the camera closer
- Include more of your surroundings
- Film in smaller spaces
- Capture travel scenes
A standard lens can be useful for:
- Talking-head videos
- Product videos
- Everyday content
You do not need five lenses when starting.
One versatile lens can often handle most of your work.
3. Invest in Better Audio
One of the most important upgrades in a professional vlogging setup is audio.
Viewers may forgive average video quality, but they are much less likely to tolerate unclear or distracting audio. To avoid this and ensure a high-quality Professional Vlogging Setup, consider the right microphone for your needs:
Shotgun Microphone
A shotgun mic mounts directly onto your camera. It is excellent for capturing sound from the direction it is pointed while reducing background noise
Wireless Microphone
Excellent for:
- Travel
- Walking
- Interviews
- Outdoor videos
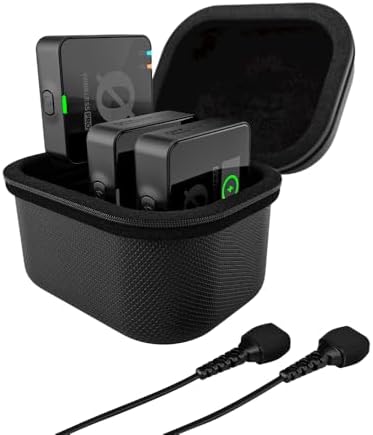
- COMPLETE PRO KIT: 2 transmitters, 1 receiver and charging case, works with cameras, USB-C phones and computers
- NEVER LOSE A TAKE: 32-bit float on-board recording captures a safety copy of every session, clipped audio is fully recov…
- TIMECODE BUILT IN: syncs picture and sound across multi-camera shoots without clapper boards or manual alignment
Shotgun Microphone
Useful when mounted directly on the camera.
Lavalier Microphone
Useful for talking-head videos and interviews.
Choose the microphone that matches your filming style.
4. Build a Simple Lighting System
Lighting can dramatically improve your videos.
You don’t need a complicated studio.
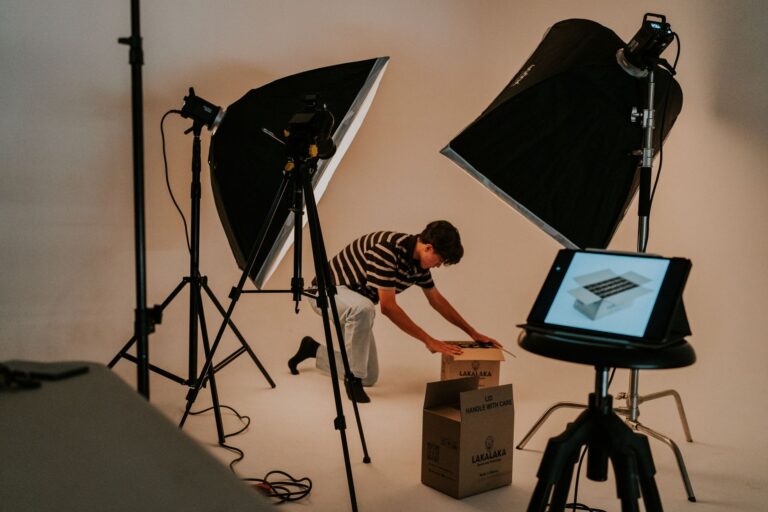
A simple setup can include:
Key Light
Your main light source.
Fill Light
Reduces harsh shadows.
Background Light
Adds separation between you and the background.
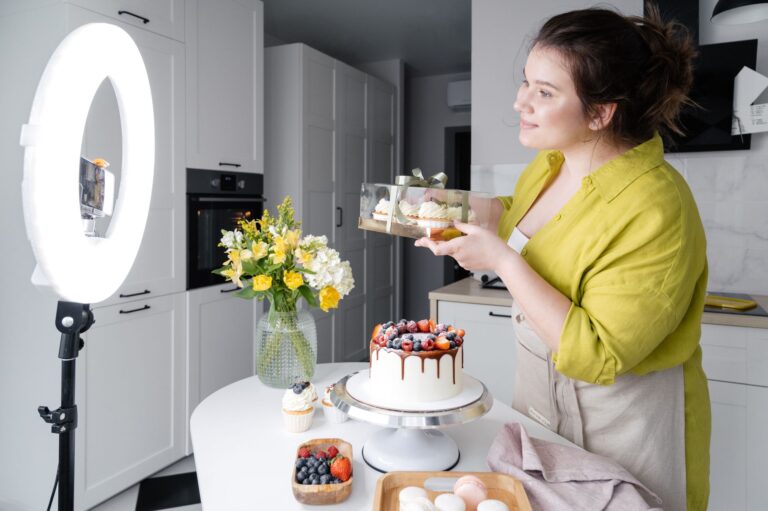
“However, you do not need to buy all three lights immediately. A single, well-positioned LED light or ring light can produce excellent results for a Professional Vlogging Setup. Once your lighting is set, the final step is ensuring your camera stays perfectly still.
5. Use a Stable Tripod
A professional-looking video must have stable framing to keep viewers focused on your content rather than shaky movements. Investing in a reliable stand is a foundational step for any Professional Vlogging Setup. A good tripod helps you:”
- Record yourself
- Maintain consistent composition
- Film talking-head videos
- Capture product shots
- Create time-lapses
Depending on your shooting style, you should choose a lightweight tripod for travel or prioritize stability for studio videos. However, if your content requires you to be on the move, static support won’t be enough.”
6. Add a Gimbal When You Need Movement

- Snap the Spectacular – The Multifunctional Module packs intelligent tracking, DJI Mic 2/DJI Mic Mini reception, and ligh…
- Experience Seamless Stability – Osmo Mobile 7P’s robust 3-axis gimbal stabilization ensures lossless stability. Capture …
- Capture Like a Pro From Day One – Pair your Osmo Mobile 7P with DJI Mimo for ShotGuides and One-Tap Edit. Film and edit …
A gimbal is incredibly useful when you want smooth, cinematic moving footage. It eliminates shaky movements while walking, making it a game-changer for a dynamic Professional Vlogging Setup. It can be especially helpful for:
- Travel videos
- Walking tours
- Cinematic B-roll
- Real estate videos
- Events
But don’t buy a gimbal simply because professional creators use one.
If your camera already provides good stabilization, you may not need one.
7. Keep Extra Batteries
A professional workflow should never stop because a battery dies. Keeping spare batteries available for longer filming sessions—or carrying a reliable power bank if you use a smartphone—is a critical practice. This ensures your Professional Vlogging Setup is always ready to capture content without interruptions.
Before every filming session, check:
Battery → Memory Card → Microphone → Camera Settings
This simple habit can prevent major problems.
8. Use Reliable Memory Cards

- Up to 100 MB/s data transfer speed
- Full- Sized SD card (32mm * 24mm)
- 4K Ultra HD UHD Video Compatible
High-quality video creates massive files, which means your storage choice is just as critical as your camera. Your storage card must be completely compatible with your device and preferred recording format. To ensure your Professional Vlogging Setup runs smoothly without dropped frames, check these factors before buying one:”
- Capacity
- Write speed
- Compatibility
- Reliability
Avoid choosing a memory card based only on price.
9. Create a Backup System
Professional creators must protect their hard work from unexpected technical failures. Imagine spending an entire day recording a video only to lose the files instantly. Managing your data safely is a key workflow habit for any Professional Vlogging Setup. To prevent data loss, you can keep your files organized across these stages:
Camera → Computer → External Storage
For important projects, consider maintaining more than one backup.
10. Organize Your Files
As your channel grows, you will quickly create hundreds or thousands of media files. Keeping your digital assets organized inside a simple structure is a vital workflow habit that saves you time during editing. To optimize your Professional Vlogging Setup, you can structure your project folders like this:”
Vlog Projects
→ 2026
→ January
→ February
→ March
Inside each project:
01 Footage
02 Audio
03 Music
04 Graphics
05 Project
06 Export
Good organization saves time during editing.
11. Choose Editing Software
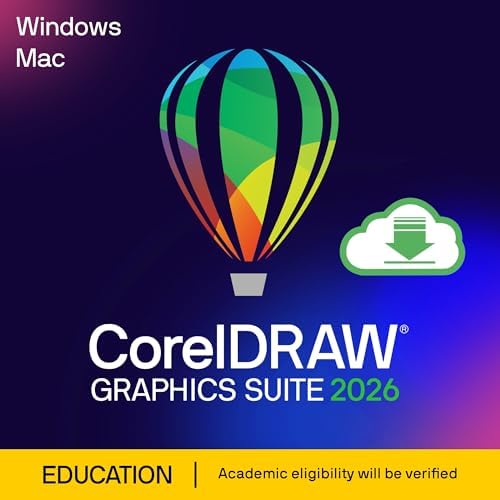
- What’s new: Text-to-image and content-to-image AI generation, AI image remix with Nano Banana, AI background removal and…
- Academic eligibility: Accredited schools, faculties, full or part-time students, non-profit charitable and religious org…
- Professional graphics suite: Software includes graphics applications for vector illustration, layout, photo editing, fon…
Your professional vlogging setup should include editing software that matches your skill level.
You need to be able to:
- Cut footage
- Improve audio
- Add music
- Add text
- Add B-roll
- Adjust color
- Export videos
Don’t choose software simply because professionals use it.
Choose software you can learn and use efficiently.
12. Create a Consistent Editing Style
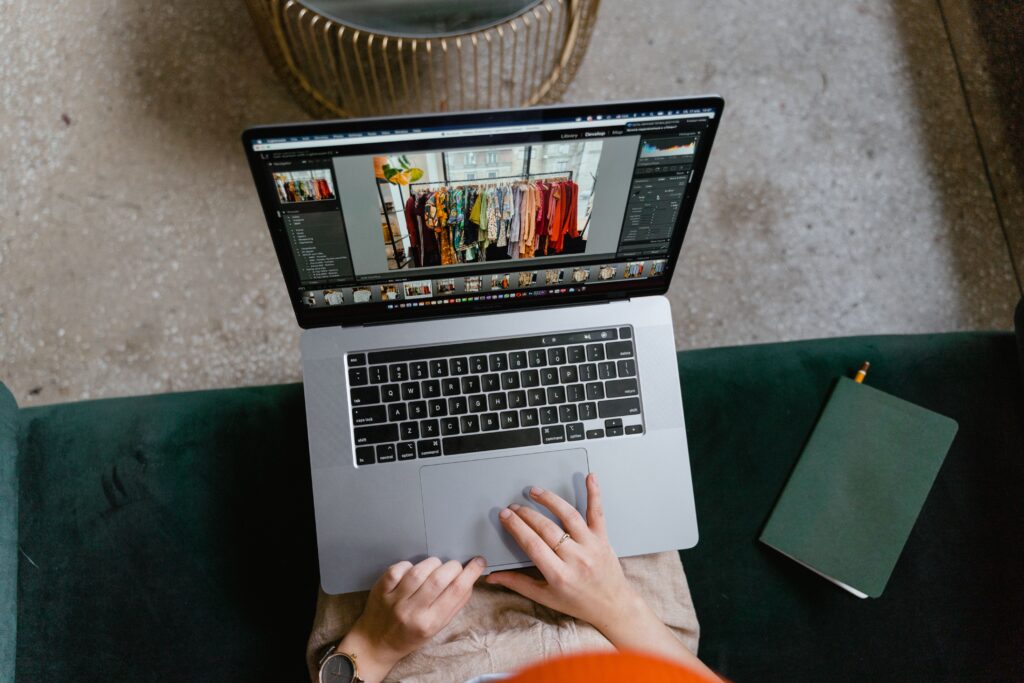
Your editing style can become part of your brand.
You might develop consistent:
- Fonts
- Transitions
- Music style
- Color treatment
- Intro style
- Thumbnail design
You don’t need complicated effects.
A clean and consistent editing style often looks more professional than excessive transitions.
13. Build a Professional Home Vlogging Setup
If you frequently record at home, create a dedicated filming area.
You can start with:
Camera – Tripod – Microphone – Key Light – Clean Background
That’s enough for many talking-head videos.
You can then improve the room with:
- Shelves
- Plants
- Practical lights
- Acoustic treatment
- Decorations
- Background elements related to your niche
Your background should support your brand.
14. Build a Professional Travel Vlogging Setup
Travel vloggers need to think about portability.
A travel setup might include:
- Compact camera
- Wide-angle lens
- Wireless microphone
- Small tripod
- Spare batteries
- Power bank
- Memory cards
- Portable storage
- Small LED light
Avoid carrying equipment you rarely use.
The best travel setup is usually the one you can comfortably carry all day.
15. Build a Professional Outdoor Setup
Outdoor creators face additional challenges.
Wind, rain, sunlight, and movement can affect your footage.
Consider:
- Wind protection for microphones
- Camera protection
- Extra batteries
- Portable lighting
- Stabilization
- Weather-resistant equipment where appropriate
Always check the operating conditions of your equipment before exposing it to difficult environments.
16. Build Your Setup According to Your Budget
You don’t need to spend thousands of dollars.
Let’s look at three practical levels.
Budget Vlogging Setup
A budget setup can include:
Smartphone – Basic microphone – Small tripod – Natural light
This can be enough to start your channel.
Mid-Range Vlogging Setup
A mid-range setup could include:
Dedicated camera – Versatile lens – Wireless microphone – Tripod– LED light – Extra battery
Memory card
This gives you considerably more flexibility.
Professional Vlogging Setup
A more advanced setup could include:
Mirrorless camera – High-quality lens – Professional microphone – Lighting system
Stable tripod – Gimbal – Extra batteries – Multiple memory cards – External storage
This type of setup is appropriate when you already understand your workflow and know exactly what you need.
17. Don’t Upgrade Everything at Once
One of the biggest mistakes creators make is buying too much equipment too quickly.
Instead, upgrade based on your limitations.
For example:
If your audio is poor → upgrade the microphone.
If your lighting is poor → upgrade the lights.
If your camera limits your image quality → upgrade the camera.
If your footage is unstable → consider better stabilization.
This approach saves money and makes your setup more efficient.
18. Create a Pre-Filming Checklist
A professional workflow starts before you press Record.
Use this checklist:
Camera
- Battery charged
- Lens clean
- Correct settings
- Memory card inserted
Audio
- Microphone connected
- Battery charged
- Audio levels checked
- Wind protection attached when needed
Lighting
- Key light positioned
- Background checked
- Exposure tested
Environment
- Background clean
- Noise controlled
- Composition checked
Recording
- Test clip recorded
- Focus checked
- Audio checked
This takes only a few minutes but can save hours of frustration.
19. Create a Repeatable Workflow
Professional creators often use a repeatable process.
Step 1 — Research
Find a topic your audience wants.
Step 2 — Plan
Write the title, hook, and main points.
Step 3 — Record
Film the main content and B-roll.
Step 4 — Edit
Cut unnecessary footage and build the story.
Step 5 — Optimize
Create your title, thumbnail, description, and other metadata.
Step 6 — Publish
Release the video.
Step 7 — Analyze
Study performance.
Step 8 — Improve
Use what you learned in the next video.
This process is more important than owning the most expensive gear.
20. Build Your Personal Brand
A professional vlogging setup is not only about equipment.
Your personal brand matters too.
Think about:
- Your channel name
- Your visual style
- Your personality
- Your niche
- Your thumbnail style
- Your video style
- Your message
When people recognize your content immediately, you are building a brand.
21. Don’t Copy Other Vloggers
It is useful to study successful creators.
Look at their:
- Cameras
- Microphones
- Lighting
- Editing
- Storytelling
- Thumbnails
But don’t assume their setup is automatically right for you.
A creator may need expensive equipment because of the type of videos they make.
Your setup should be based on your content and your audience.
22. When Should You Upgrade Your Equipment?
Upgrade when one of these situations happens:
Your Camera Limits Your Content
You need features your current camera does not provide.
Your Audio Is Not Good Enough
Your microphone is creating distracting noise or poor-quality sound.
Your Lighting Is Limiting You
Your current lighting prevents you from getting consistent results.
Your Workflow Is Too Slow
Your equipment is making production unnecessarily difficult.
Don’t upgrade just because a new product has been released.
Upgrade because you have a real reason.
The Professional Vlogging Setup Formula
A useful way to think about your setup is:
Camera + Audio + Lighting + Stability + Workflow + Storytelling
Not:
Expensive Camera = Professional Video
A professional result comes from combining the right equipment with the right skills.
Your Complete Vlogging Setup Checklist
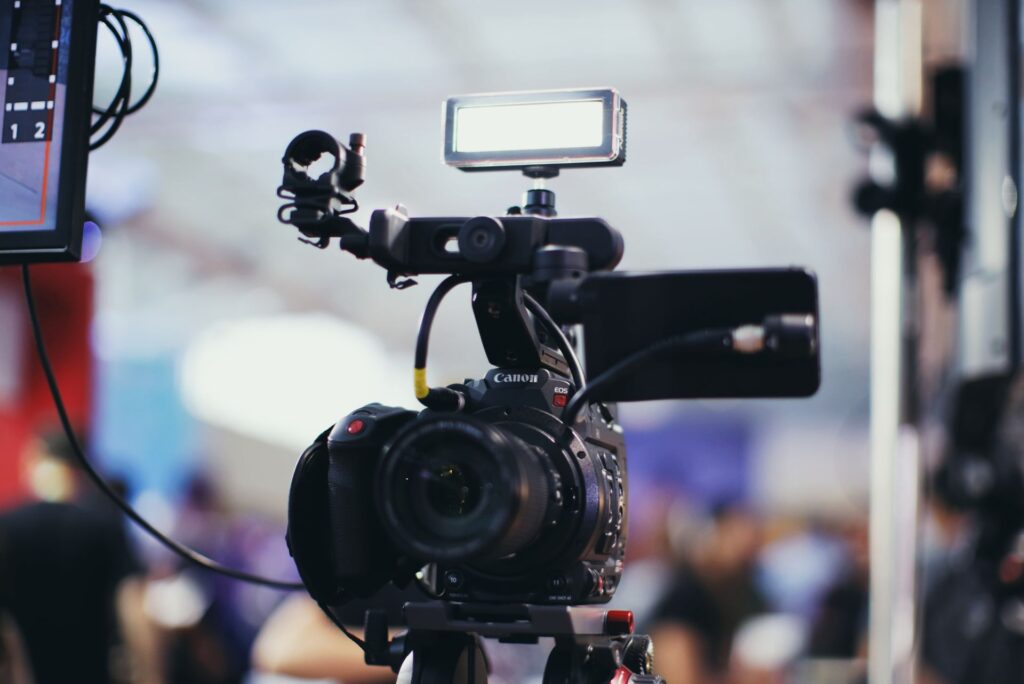
Before publishing your next vlog, check:
Camera
☐ Camera or smartphone
☐ Lens
☐ Extra battery
☐ Memory card
Audio
☐ Microphone
☐ Wind protection
☐ Audio test
Lighting
☐ Key light
☐ Natural light or additional light
☐ Background lighting if needed
Stability
☐ Tripod
☐ Gimbal if necessary
Storage
☐ Computer
☐ External storage
☐ Backup system
Content
☐ Video idea
☐ Hook
☐ Story
☐ B-roll
☐ Ending
Publishing
☐ Title
☐ Thumbnail
☐ Description
☐ Keywords
☐ Video chapters when useful
Final Thoughts
Building a professional vlogging setup is a journey.
You don’t need to purchase everything on day one.
Start with the equipment you already have.
Improve the areas that matter most.
Learn how to use your camera.
Improve your audio.
Learn lighting.
Develop your storytelling.
Create a consistent workflow.
Then upgrade your equipment when your channel and skills require it.
The most expensive setup is not necessarily the best setup.
The best professional vlogging setup is the one that helps you create better content consistently.
Your equipment is important, but your creativity, discipline, storytelling, and connection with your audience are what ultimately make your channel valuable.
Frequently Asked Questions
What is a professional vlogging setup?
A professional vlogging setup is a combination of camera, lens, microphone, lighting, stabilization, storage, editing tools, and workflow designed to produce consistent, high-quality videos.
How much does a professional vlogging setup cost?
There is no fixed price. You can start with a smartphone and basic accessories or gradually build a more advanced setup with a mirrorless camera, professional audio, lighting, and stabilization.
Can I build a professional vlogging setup on a budget?
Yes. Start with the equipment you already own and upgrade the areas that have the biggest impact on your videos.
What camera do professional vloggers use?
Professional vloggers use many different cameras depending on their content. Smartphones, compact cameras, mirrorless cameras, and action cameras can all be part of a professional workflow.
What is the most important part of a vlogging setup?
There is no single most important piece of equipment. Camera quality, audio, lighting, storytelling, and workflow all work together.
Should I buy a gimbal for my vlogging setup?
Only if you regularly need smooth moving footage. A gimbal is useful but not essential for every creator.
Should I upgrade my camera first?
Not necessarily. If your current camera produces acceptable video, improving your microphone or lighting may provide a more noticeable improvement.
How can I make my vlogging setup look professional?
Use good lighting, clear audio, stable framing, an organized background, and consistent camera settings. Most importantly, develop a repeatable filming and editing workflow.
🎓 Free Vlogging Course – Complete
Congratulations!
You have completed all five lessons of the Free Vlogging Course.
Lesson 1
How to Become a Successful Vlogger in 2026
Learn the foundations of vlogging, choose your niche, understand your audience, and start creating content.
Lesson 2
Best Vlogging Equipment for Beginners in 2026
Learn what equipment you actually need to start vlogging.
Lesson 3
Best Vlogging Camera Setup in 2026
Learn how to choose and configure your camera, microphone, lighting, lens, and accessories.
Lesson 4
How to Make Better Vlogs and Grow Your Audience
Learn storytelling, video ideas, hooks, thumbnails, SEO, audience retention, and consistency.
Lesson 5
How to Build a Professional Vlogging Setup on Any Budget
Bring everything together and create a complete vlogging workflow.
Your Next Step
Don’t stop learning after finishing the course.
The best way to become a better vlogger is to start creating.
Choose your first video idea.
Set up your camera.
Check your microphone.
Turn on your light.
Press Record.
Then make your next video better than the first.
Your vlogging journey starts now.
🔗 Recommended Internal Links
At the bottom of each article, connect the lessons together:
← Lesson 4: How to Make Better Vlogs and Grow Your Audience
← Lesson 3: Best Vlogging Camera Setup
← Lesson 2: Best Vlogging Equipment for Beginners
← Lesson 1: How to Become a Successful Vlogger
🎓 Return to the Free Vlogging Course