Best Vlogging Camera Setup in 2026: Camera, Microphone and Lighting Guide
🎓 Free Vlogging Course – Lesson 3
Best Vlogging Camera Setup in 2026
Choosing the right camera is an important step when you want to create better vlogs.
But a great camera alone does not automatically produce a great video.
Your Best vlogging camera setup also includes your microphone, lighting, lens, stabilization, and the way you position and use your equipment.
If you completed Lesson 1: How to Become a Successful Vlogger and Lesson 2: Best Vlogging Equipment for Beginners, you already understand the basics.
Now it is time to go one step further.
In this lesson, we will show you how to build the best vlogging camera setup for your needs, whether you are using a smartphone, compact camera, or mirrorless camera.
What Is a Vlogging Camera Setup?
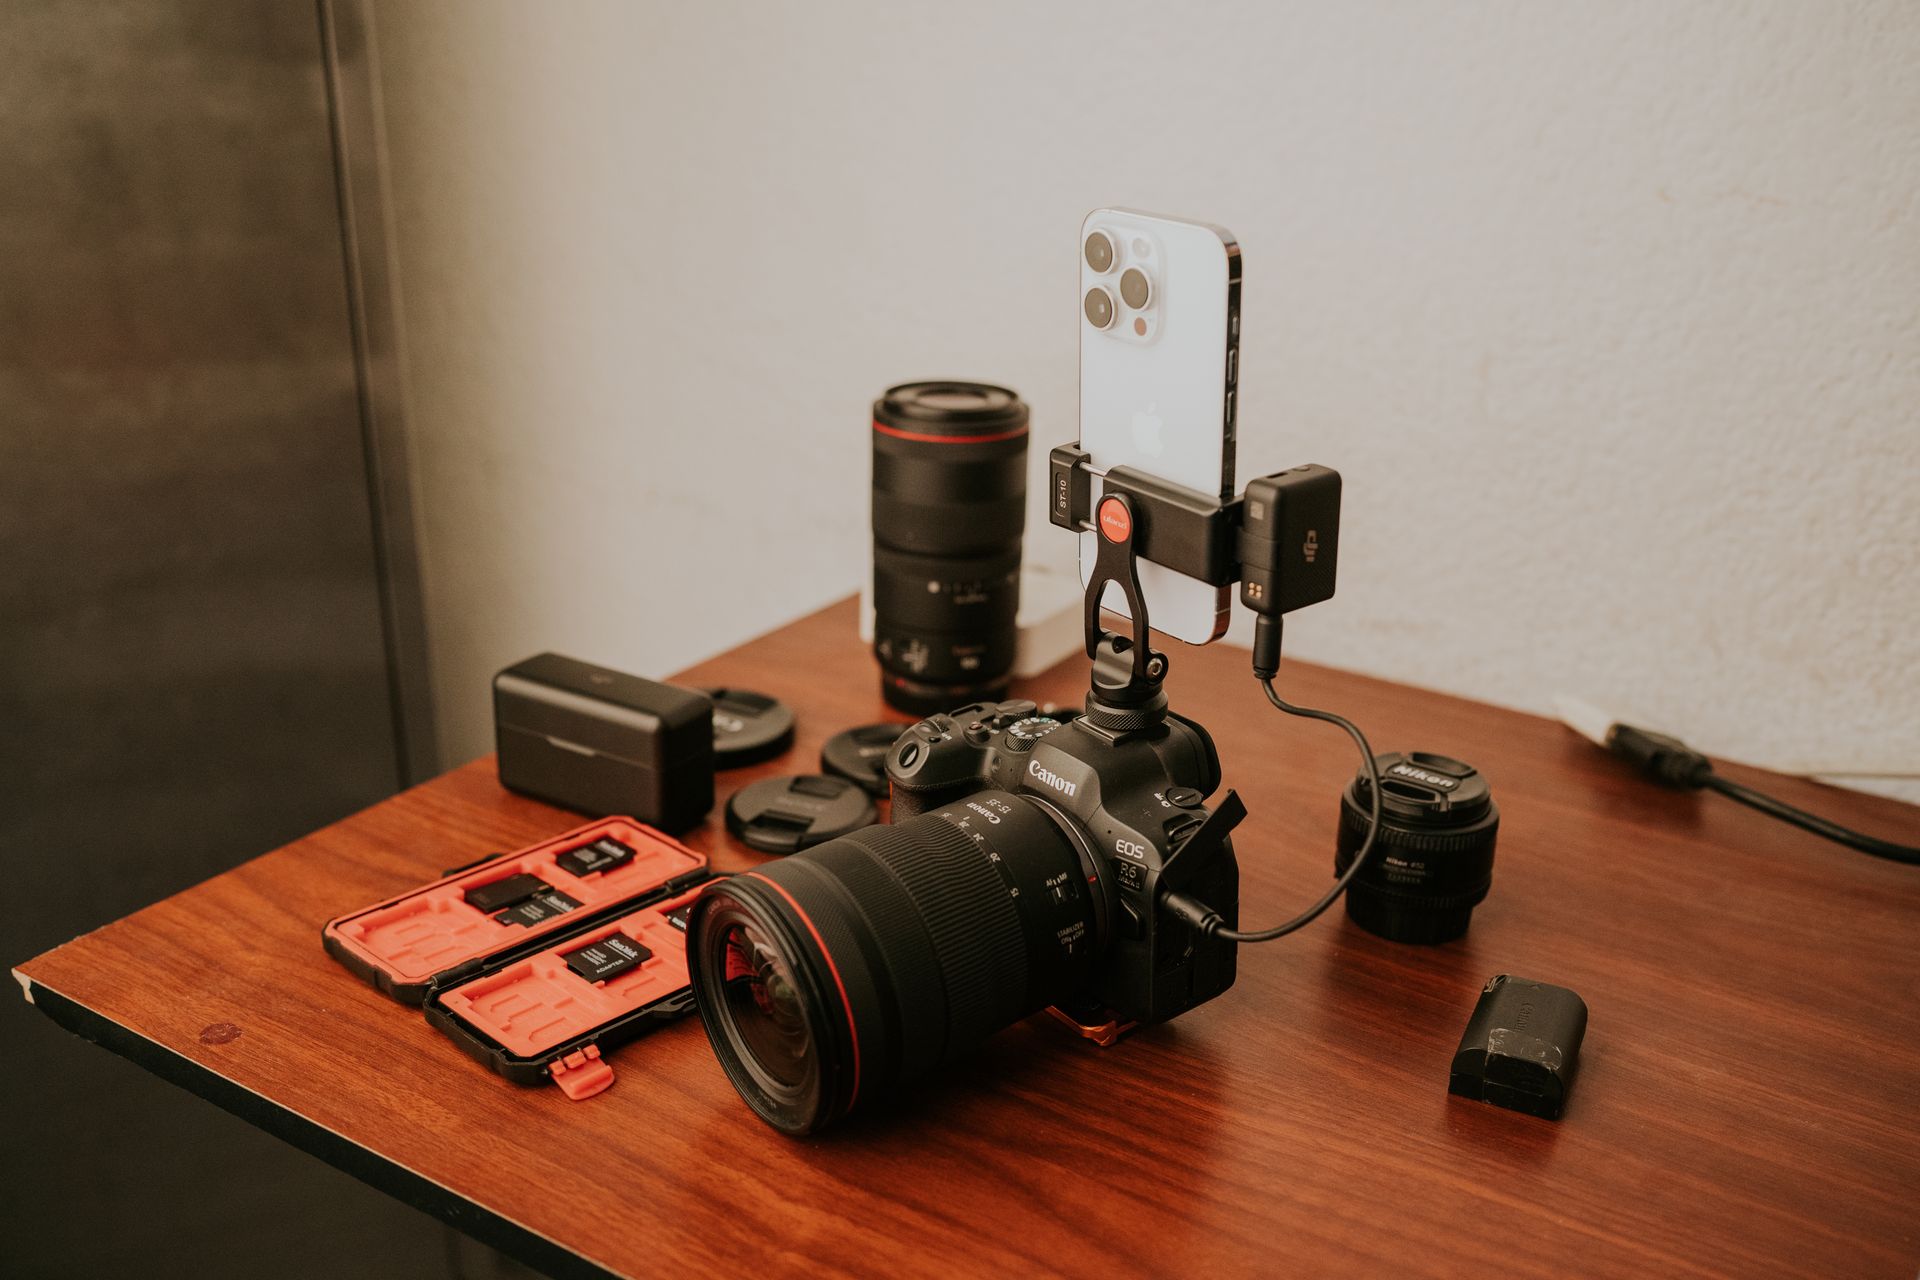
Best vlogging camera setup is the combination of equipment and settings you use to record your videos.
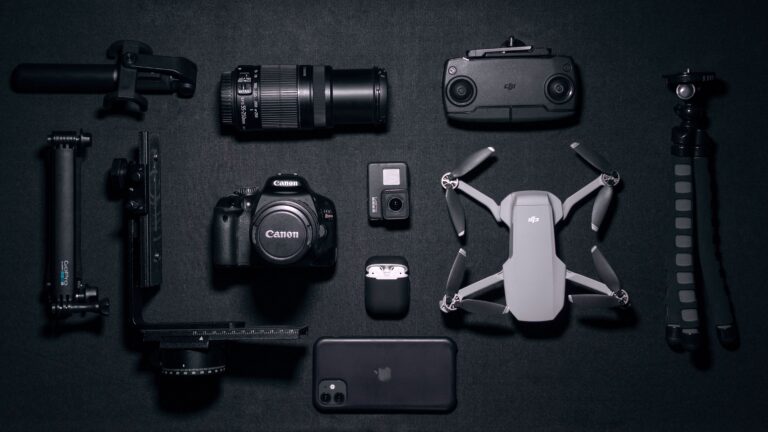
A basic setup can include:
- Camera or smartphone
- Lens
- Microphone
- Tripod
- Lighting
- Memory card
- Extra battery
- Stabilization equipment
Your setup does not have to be expensive.
The best setup is the one that matches your content, environment, and budget.
1. Choose the Right Camera
The first part of your best vlogging camera setup is choosing the right camera.
There are several options.
Smartphone
A smartphone is an excellent starting point for beginners building their best vlogging camera setup
Modern smartphones can provide:
- High-resolution video
- Autofocus
- Image stabilization
- Portable shooting
- Easy editing
- Fast social media uploads
If you are new to vlogging, there is nothing wrong with starting with your phone.
In fact, using your existing smartphone can help you learn the fundamentals before spending money on a dedicated camera.
Compact Vlogging Camera
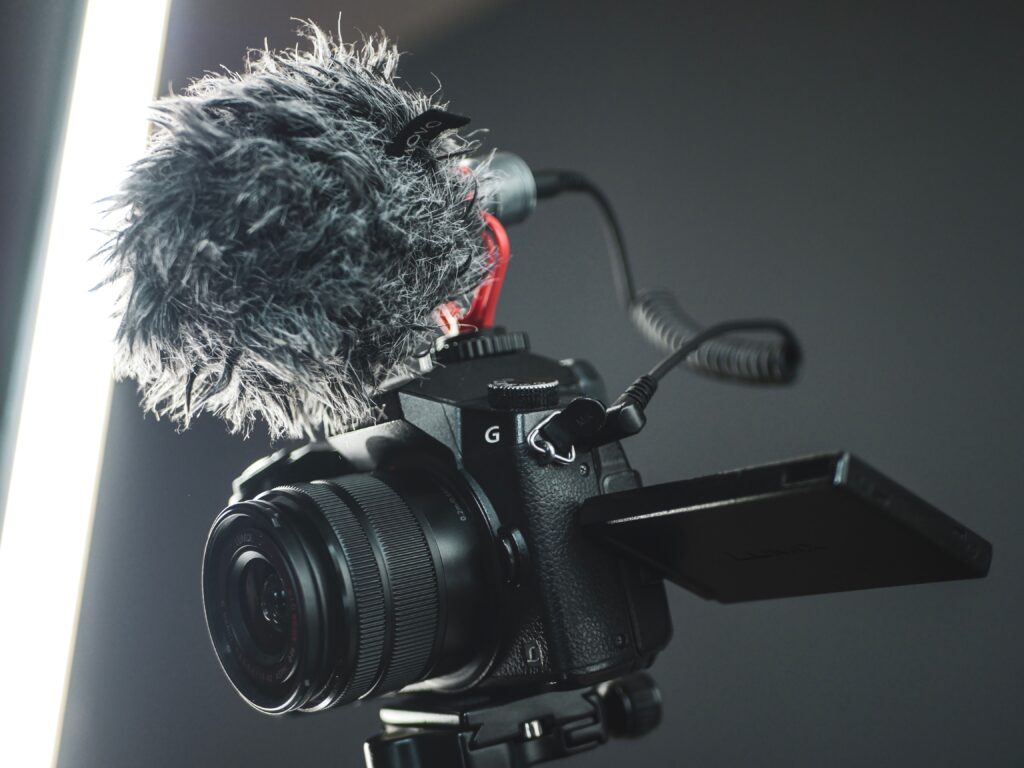
Compact cameras are designed for creators who want better control and image quality while keeping their best vlogging camera setup portable
Useful features can include:
- Flip screen
- Fast autofocus
- Image stabilization
- External microphone support
- Compact body
- High-quality video
A compact camera can be an excellent choice for travel and everyday vlogging.
Mirrorless Camera
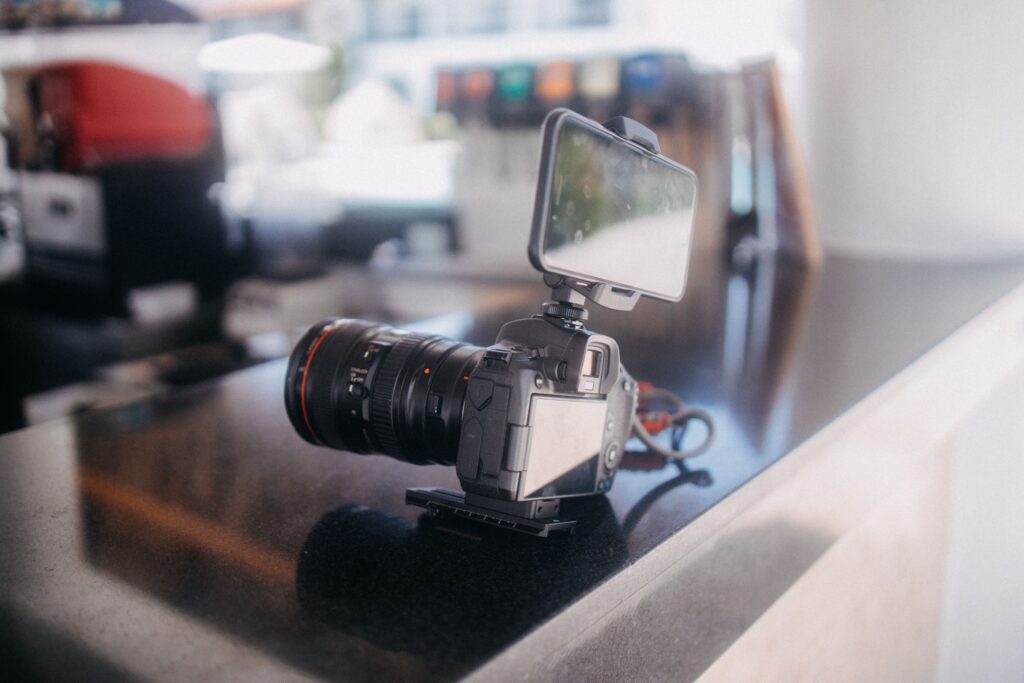
When looking to build the best vlogging camera setup, mirrorless cameras are popular with creators who want more control and flexibility.
Depending on the camera, you may get:
- Larger sensor
- Interchangeable lenses
- Advanced autofocus
- Manual controls
- Better low-light performance
- High-quality video
- External microphone input
However, mirrorless cameras can be more expensive and require more knowledge.
If you are just starting, don’t feel pressured to buy one immediately.
2. Choose the Right Lens
If you use a mirrorless camera, your lens is an important part of your Best vlogging camera setup.
The right lens depends on how you record.
Wide-Angle Lens

- EF S ultra wide zoom lens. Drive System Lead screw and rack system driven by stepping motor
- Focal Length and Maximum Aperture: 10 18 millimeter, 1:4.5; 5.6
- Closest Focusing Distance: 0.72 feet. ; 0.22 meter
A wide lens is useful for:
- Self-vlogging
- Travel
- Small rooms
- Walking videos
- Landscape shots
It allows you to capture more of the environment.
Standard Lens
A standard lens is useful for:
- Talking-head videos
- Everyday footage
- General-purpose shooting
It can provide a natural-looking perspective.
Telephoto Lens
Telephoto lenses are useful when you need to capture subjects from farther away.
They can be useful for:
- Sports
- Events
- Wildlife
- Distant subjects
However, a telephoto lens is usually not the first lens a beginner needs for everyday video, and it is rarely part of the best vlogging camera setup.
3. Don’t Forget the Microphone
One of the biggest improvements you can make to your best vlogging camera setup is better audio.
Even if your camera produces beautiful images, poor audio can make your video feel unprofessional.
Your microphone options include:
Wireless Microphone
A wireless microphone is excellent for:
- Walking
- Travel
- Interviews
- Outdoor videos
- Moving around while recording

- Small but Mighty – The DJI Mic Mini lavalier microphone transmitter is small and ultralight, weighing only 10 g, [1] mak…
- Detail-Rich Sound – Mic Mini wireless microphones delivers high-quality audio. A 400m max transmission range [2] ensures…
- Extended Battery, More Recording Time – Mic Mini wireless lavalier microphone with Charging Case offers up to 48 hours o…
Shotgun Microphone
A shotgun microphone can be mounted on your camera and is useful for directional audio.
Lavalier Microphone
A lavalier microphone attaches to your clothing and can provide clear voice recording.
USB Microphone
A USB microphone is better suited to:
- Studio videos
- Tutorials
- Podcasts
- Voiceovers
Choose your microphone based on where and how you record.
4. Use the Right Lighting
Lighting can make a major difference in your videos.
You don’t need a professional studio to get good results.
Start by learning how to use natural light.
Natural Window Light
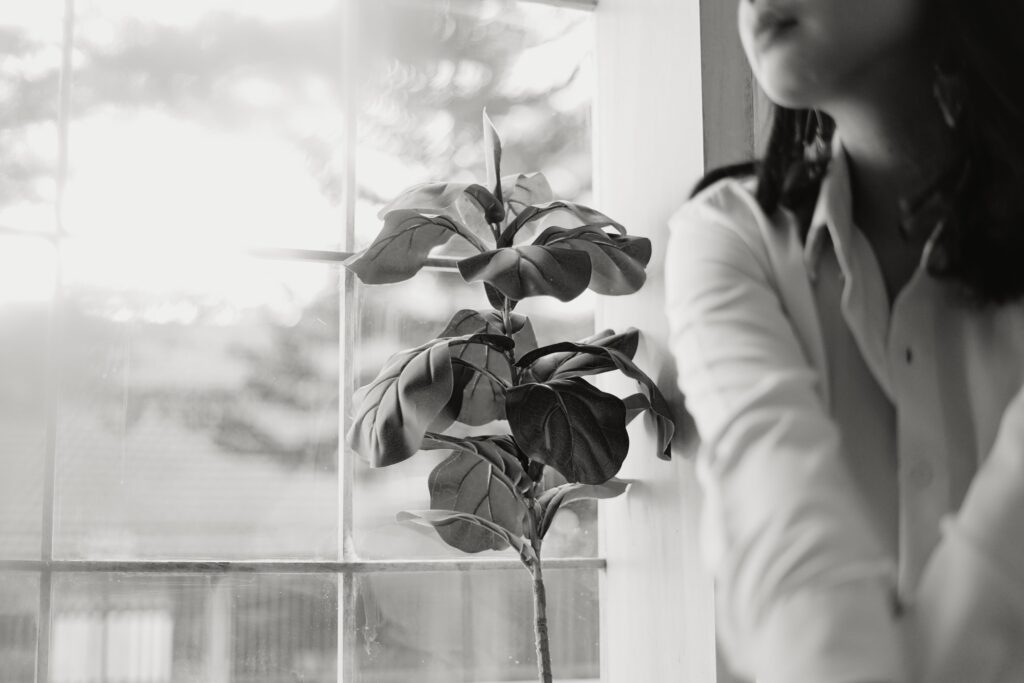
A window can be an excellent light source to naturally brighten your best vlogging camera setup
Place yourself so that the light illuminates your face.
Avoid placing a bright window directly behind you unless you intentionally want a silhouette.
LED Lights
LED lights provide more control.
You can adjust their position and, depending on the model, brightness and color temperature.
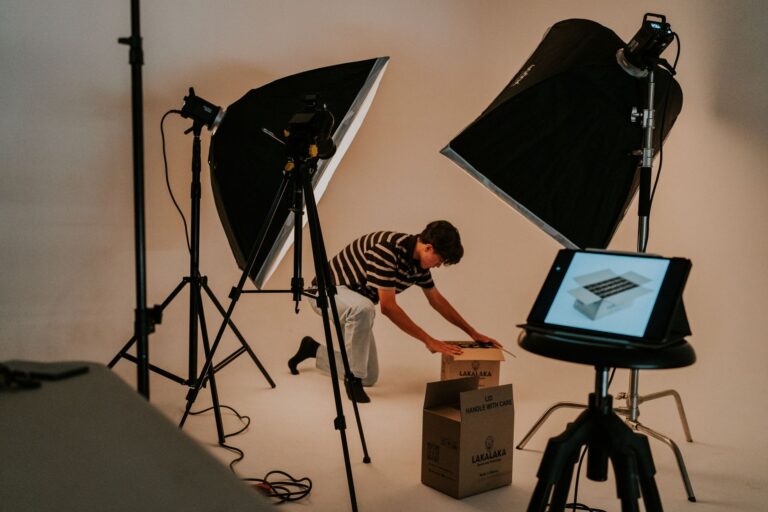
Softboxes
Softboxes create softer and more flattering light.
They can be particularly useful for indoor talking-head videos.
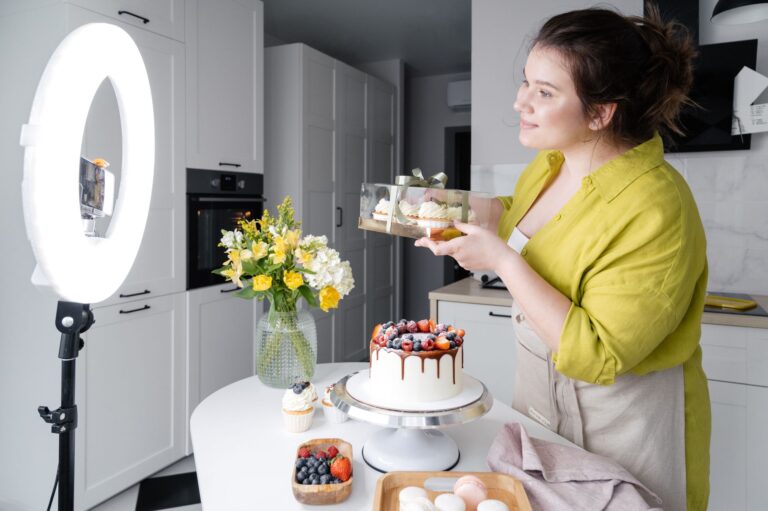
Ring Lights
Ring lights are popular for:
- Beauty videos
- Makeup content
- Talking-head videos
- Small studio setups
The best lighting depends on your type of content.
5. Use a Tripod for Stable Shots
A tripod is one of the most useful parts of a Best vlogging camera setup.
It helps you:
- Keep your camera stable
- Frame yourself correctly
- Record hands-free
- Create consistent shots
- Film talking-head videos
Choose a tripod that can safely support your camera and lens.
For travel, consider a lightweight and portable model.
For studio use, a larger and more stable tripod may be better.
6. Consider a Gimbal for Moving Shots
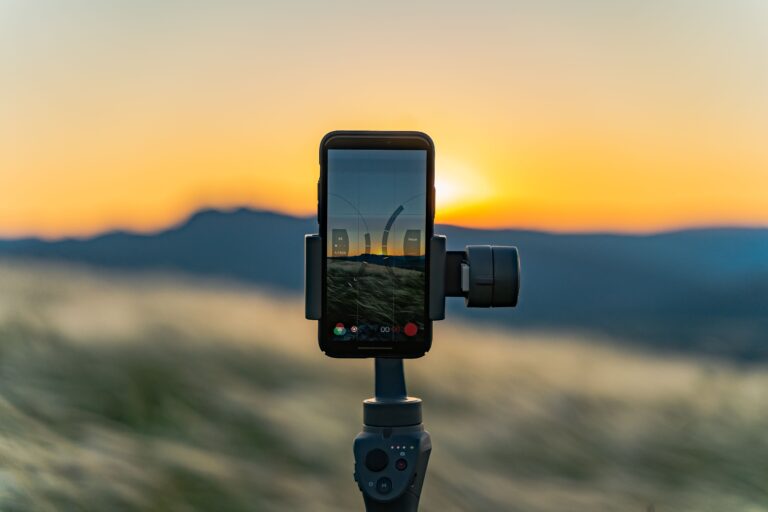
If your content involves a lot of walking or movement, a gimbal can help create smoother footage.
A gimbal can be useful for:
- Travel videos
- Walking tours
- Cinematic B-roll
- Real estate
- Events
However, don’t assume you need one to build the best vlogging camera setup
Many cameras and smartphones already have good stabilization.
A gimbal should be an upgrade based on your filming needs.
7. Choose the Right Camera Settings
Good equipment is only useful if you know how to use it.
Start by learning the basic camera settings.
Resolution
For many creators, recording in 4K provides flexibility for cropping and editing.
However, 1080p can still be perfectly suitable for many types of content.
Choose the resolution based on your storage, editing hardware, and publishing requirements.
Frame Rate
Common frame rates include:
- 24 fps
- 30 fps
- 60 fps
For standard talking videos, 24 or 30 fps can work well.
60 fps can be useful when you want smoother motion or plan to create slow-motion footage.
Shutter Speed
A commonly used starting point is to keep shutter speed around twice your frame rate.
For example:
24 fps → approximately 1/48 or 1/50
30 fps → approximately 1/60
60 fps → approximately 1/120
This can create natural-looking motion.
ISO
ISO controls the camera’s sensitivity to light.
Higher ISO can help in darker environments, but it can also introduce more image noise.
Whenever possible, use enough light so you don’t need to push ISO unnecessarily high.
8. Use Autofocus Wisely
Reliable autofocus is extremely useful for vloggers.
This feature is an absolute must-have when planning the best vlogging camera setup, especially important when you are recording yourself
Look for cameras with dependable:
- Face detection
- Eye detection
- Subject tracking
Before recording an important video, test your autofocus.
You don’t want to discover after filming that your face was out of focus.
9. Frame Yourself Correctly
Camera positioning can make a major difference.
For talking-head videos, position the camera around eye level.
Avoid placing the camera too low unless you want a specific creative effect.
Leave enough space around your head without making the frame feel empty.
Also pay attention to the background.
A clean and relevant background can make your videos look more professional.
10. Improve Your Background
While focusing on the best vlogging camera setup, remember that your background tells viewers something about you.
For a technology channel, your background might include:
- Cameras
- Computers
- Books
- Studio equipment
For a travel vlog, the environment itself may be the background.
Avoid unnecessary clutter.
You can also use:
- Plants
- Shelves
- Practical lights
- Decorations
The goal is not to create an expensive studio.
The goal is to create a background that supports your content.
11. Record Better B-Roll
B-roll is additional footage that supports the main story.
For example, if you are reviewing a camera, B-roll might include:
- Close-up shots
- Buttons
- Lens details
- Camera movement
- Sample footage
- You using the camera
B-roll makes your videos more interesting and helps you tell a better story.
Don’t rely only on talking-head footage.
12. Monitor Your Audio
Before recording an important video, check your microphone.
Listen for:
- Background noise
- Wind
- Echo
- Distortion
- Clothing noise
- Low recording levels
A 10-second test recording can save you from losing an entire video.
This simple habit should become part of your workflow.
13. Protect Your Equipment
As your setup becomes more expensive, protecting your equipment becomes more important.
Consider:
- Camera bag
- Lens protection
- Screen protector
- Spare batteries
- Memory card case
- Cleaning kit
When traveling, keep your equipment organized and protected.
14. Create a Simple Vlogging Workflow
A good vlogging camera setup should make creating videos easier, not more complicated.
A simple workflow could be:
Before Recording
Check:
- Battery
- Memory card
- Lens
- Microphone
- Lighting
- Camera settings
During Recording
Check:
- Focus
- Audio
- Framing
- Exposure
After Recording
Back up your footage.
Organize your files.
Edit your video.
Export and publish.
A consistent workflow reduces mistakes.
Best Vlogging Camera Setup for Different Types of Creators
There is no single setup that is perfect for everyone.
Travel Vlogger
Prioritize:
- Small camera
- Wide lens
- Wireless microphone
- Lightweight tripod
- Extra batteries
- Portable light
Lifestyle Vlogger
Consider:
- Compact camera
- Wireless microphone
- Small tripod
- Natural lighting
- Portable accessories
Studio YouTuber
Prioritize:
- Mirrorless camera
- Quality lens
- Soft lighting
- High-quality microphone
- Stable tripod
Outdoor Vlogger
Prioritize:
- Durable camera
- Image stabilization
- Wireless microphone
- Spare batteries
- Weather protection
How Much Should You Spend on a Vlogging Camera Setup?
You don’t need to spend a huge amount of money immediately.
A practical approach is to build your setup in stages.
Beginner
Smartphone + microphone + tripod + natural light
Intermediate
Dedicated camera + lens + wireless microphone + tripod + LED light
Advanced
Mirrorless camera + high-quality lens + professional audio + lighting + stabilization + storage
Start with the level that matches your current needs.
Upgrade when your equipment becomes a limitation.
5 Things That Matter More Than an Expensive Camera
Before spending thousands on equipment, remember these five factors:
1. Storytelling
A great story keeps viewers watching.
2. Audio
Clear audio makes your videos easier to enjoy.
3. Lighting
Good lighting improves image quality dramatically.
4. Content Ideas
A great camera cannot create an interesting idea.
5. Consistency
Regular practice helps you improve.
Equipment matters, but it is only one part of successful vlogging.
Common Vlogging Camera Setup Mistakes
Buying the Wrong Lens
A lens that is too narrow can make self-vlogging difficult.
Ignoring Audio
Good image quality cannot compensate for terrible sound.
Using Bad Lighting
Poor lighting can make expensive cameras look disappointing.
Overcomplicating the Setup
Too much equipment can slow down your workflow.
Not Testing Your Equipment
Always test your camera, microphone, and lighting before an important recording.
Final Thoughts
Building the best vlogging camera setup is not about buying the most expensive equipment available.
It is about choosing equipment that matches your content.
Start with a camera you can comfortably use.
Add a reliable microphone.
Learn how to use light.
Keep your shots stable.
Learn basic camera settings.
Then improve your setup as your skills and audience grow.
Remember:
Better equipment can improve your videos, but better skills create better content.
The best vlogging camera setup is the one that allows you to create consistently without making the process unnecessarily complicated.
Frequently Asked Questions
What is the best vlogging camera setup for beginners?
A simple beginner setup can include a smartphone or compact camera, a microphone, a tripod, and natural or basic LED lighting.
What camera is best for vlogging?
The best camera depends on your content, budget, portability requirements, and experience. Smartphones, compact cameras, and mirrorless cameras can all work well for different creators.
Do I need a mirrorless camera for vlogging?
No. A mirrorless camera is not required to start vlogging. A smartphone or compact camera can be enough for many beginners.
What microphone is best for vlogging?
Wireless microphones are particularly useful for walking and travel vlogs, while shotgun and lavalier microphones can work well in other filming situations.
Do I need a gimbal for vlogging?
Not necessarily. A gimbal is useful for smooth moving shots, but modern cameras and smartphones often provide effective stabilization.
What camera settings should I use for vlogging?
Start by learning resolution, frame rate, shutter speed, ISO, white balance, and autofocus. A common starting point is to use a shutter speed close to twice your frame rate.
Is 4K necessary for vlogging?
No. 4K can provide additional detail and cropping flexibility, but 1080p can still produce excellent content. Choose based on your workflow and storage capacity.
How can I make my vlogs look more professional?
Improve your lighting and audio, use stable framing, learn basic camera settings, capture B-roll, and focus on storytelling.
🎓 Free Vlogging Course – Course Progress
Lesson 1 — How to Become a Successful Vlogger in 2026
Lesson 2 — Best Vlogging Equipment for Beginners in 2026
Lesson 3 — Best Vlogging Camera Setup in 2026 ✅
Next Lesson
Lesson 4 — How to Make Better Vlogs and Grow Your Audience
In the next lesson, we will move beyond equipment and focus on the skills that help turn viewers into regular followers, including video ideas, hooks, titles, thumbnails, storytelling, SEO, audience retention, and consistency.